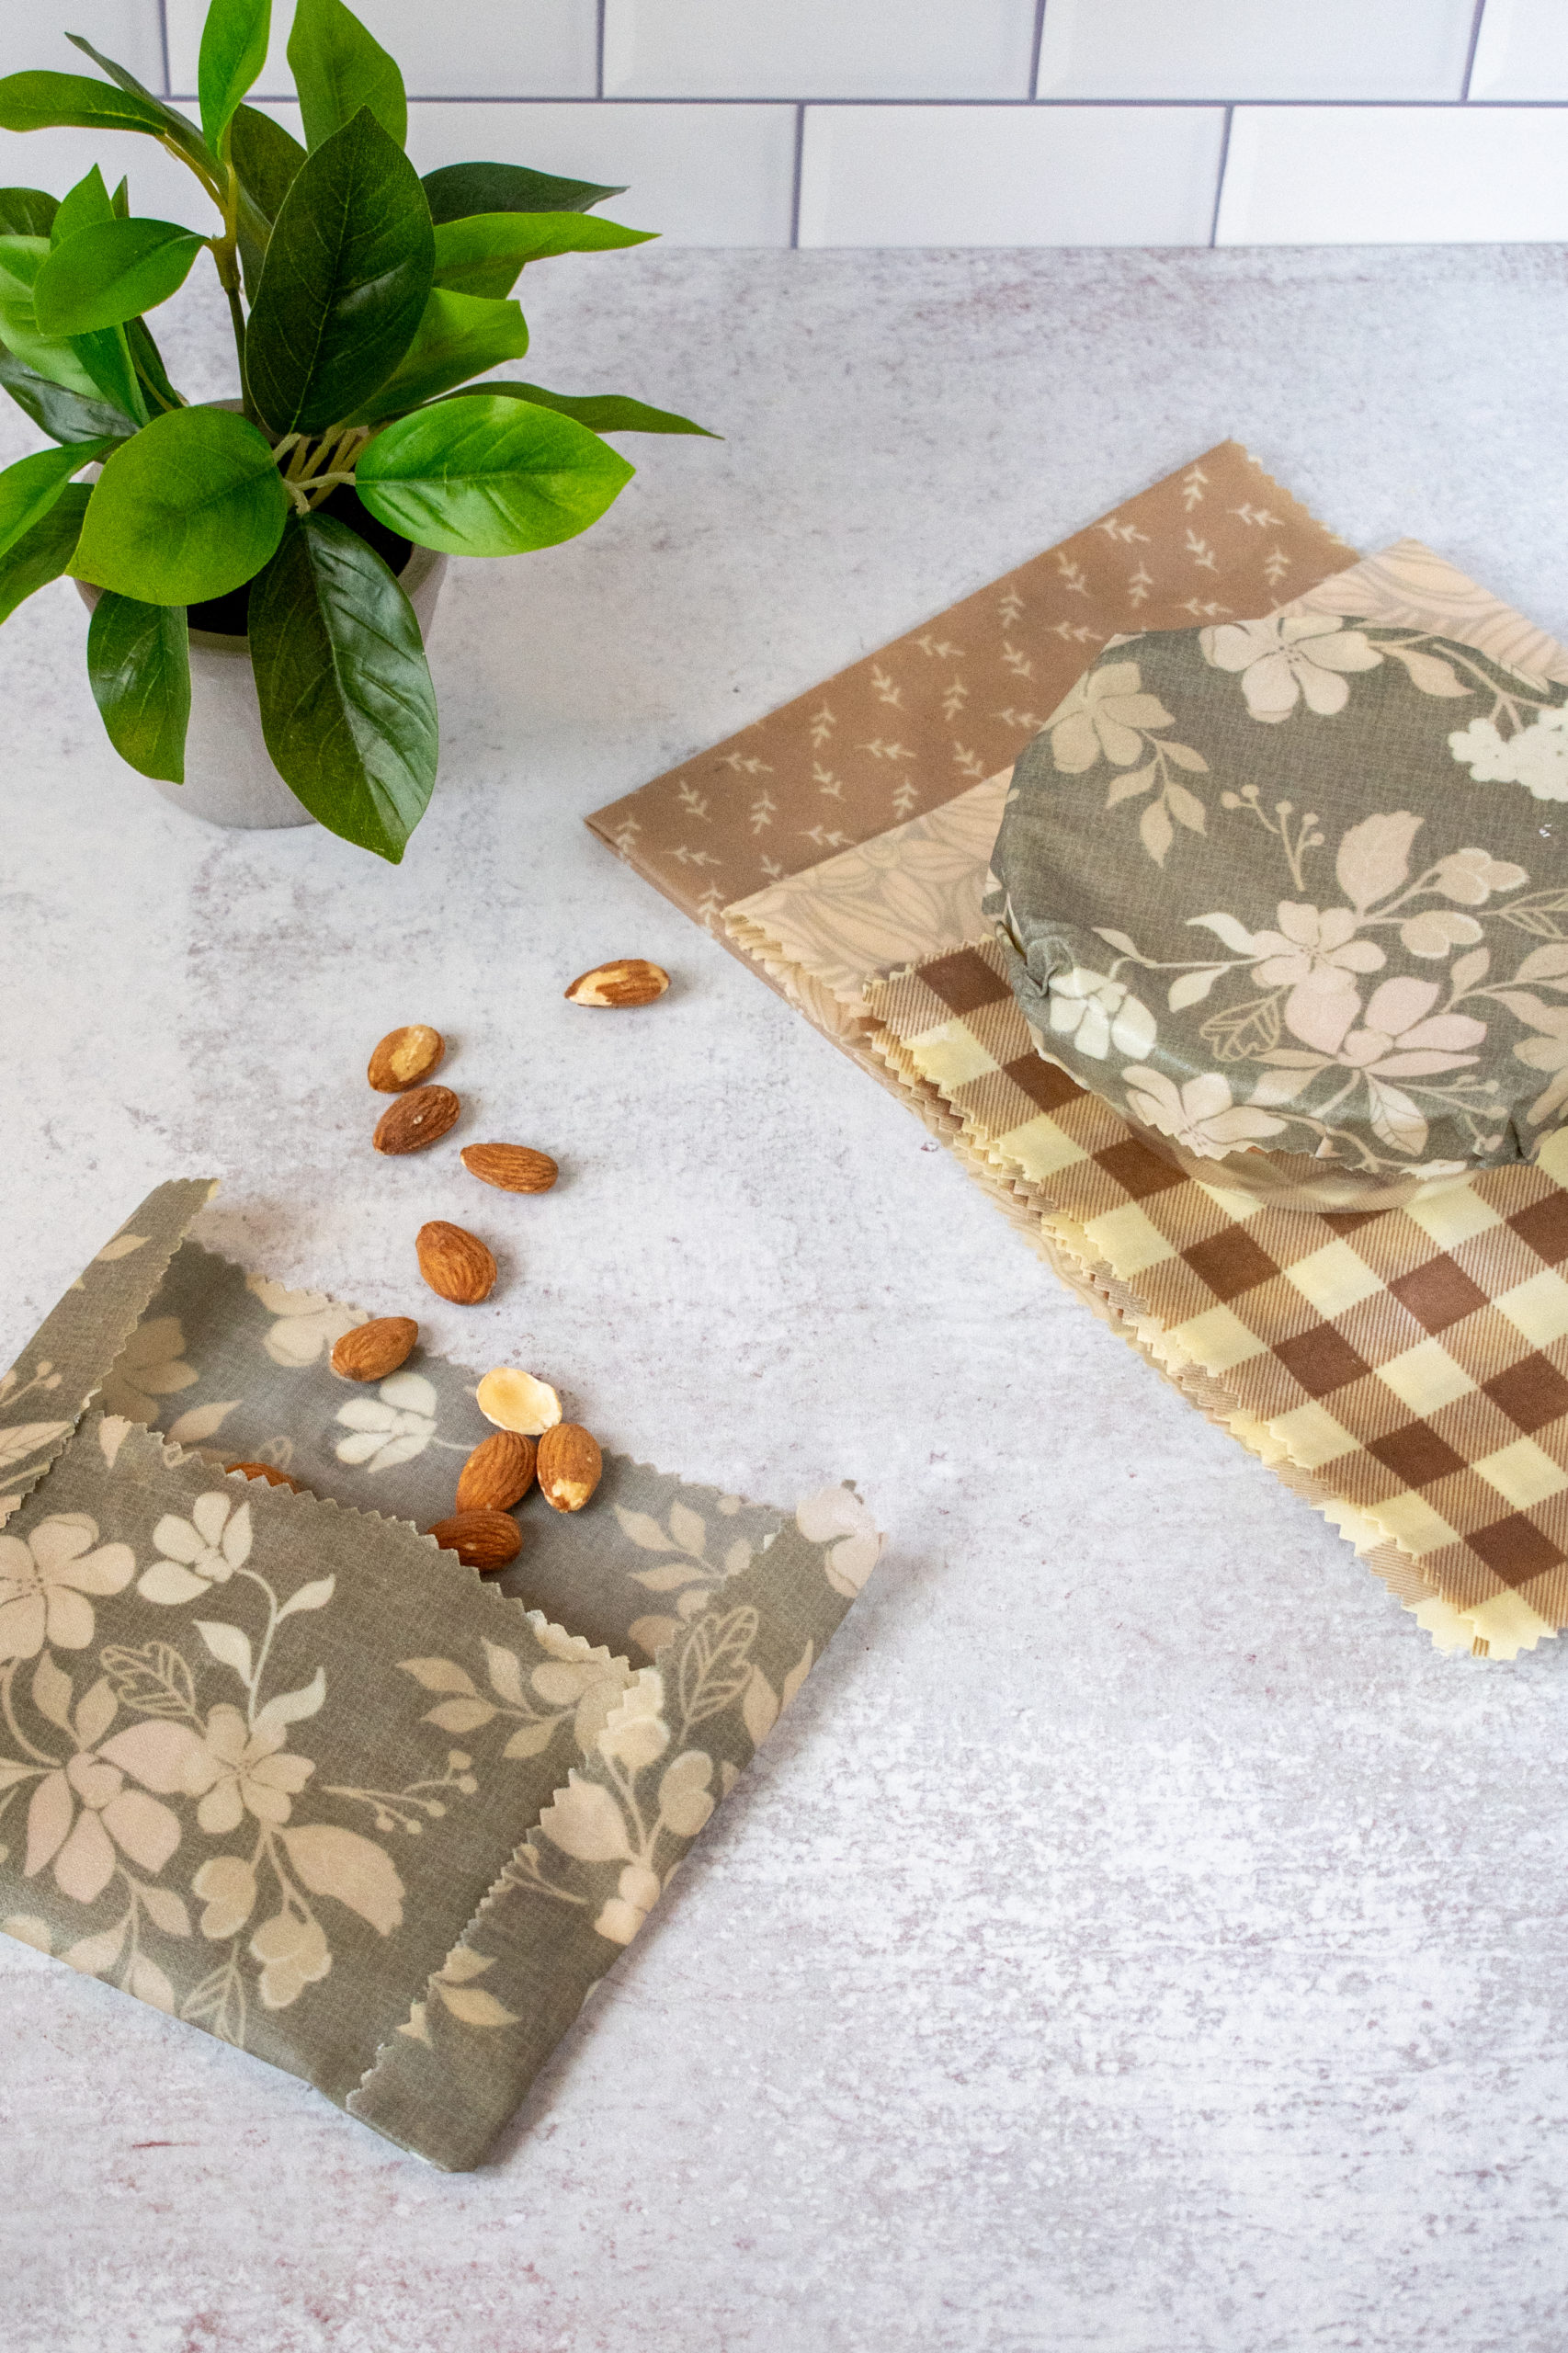
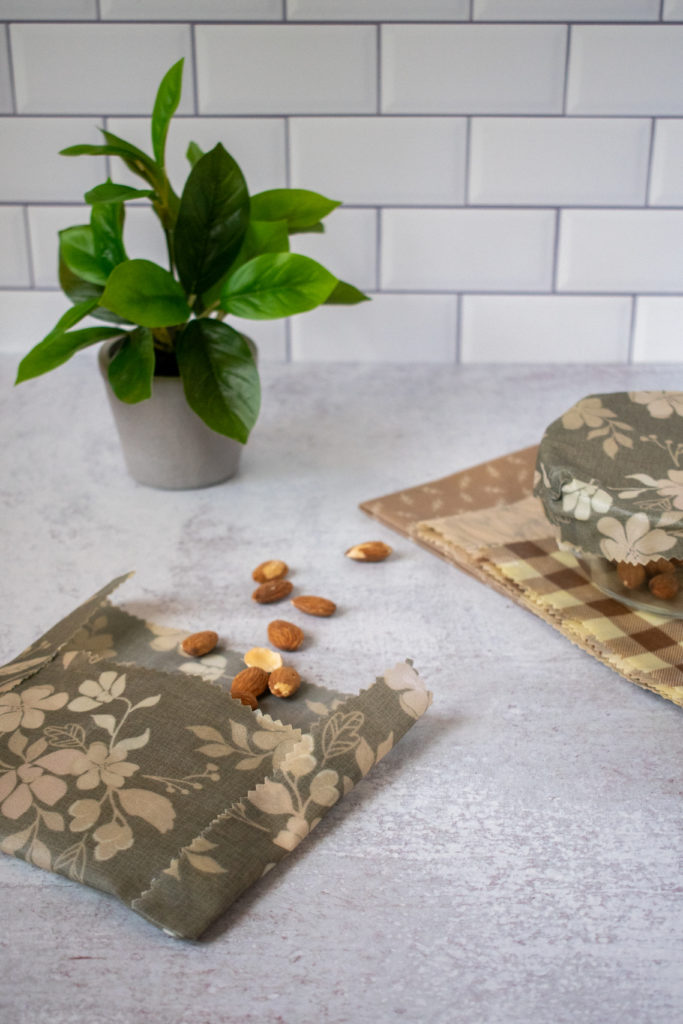
Make beeswax wraps at home and ditch the plastic. These will easily wrap bowls and jars and can be folded to hold small snacks, sandwiches, or fruit.
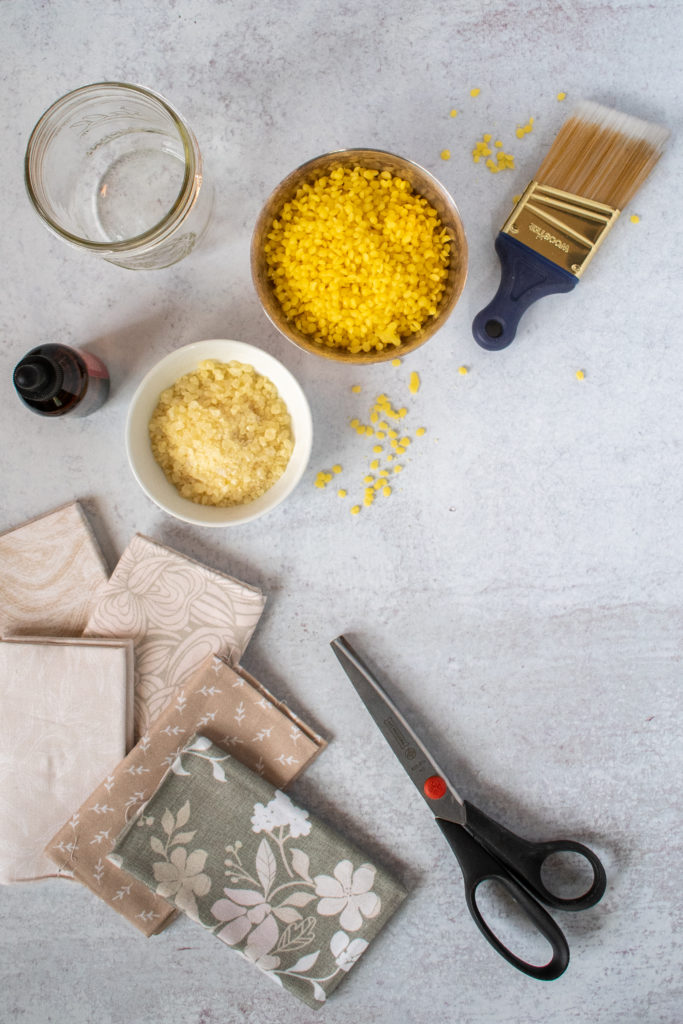
Materials
- Cotton Fabric
- Pinking Sheers
- Tree Resin
- Beeswax pellets
- Jojoba Oil
- Paint Brush
- Mason Jar or other heat proof glass container
- Saucepan
- Parchment paper
- Iron
Steps
- Cut the cotton fabric with pinking shears into the sizes and shapes you want. I like to make a wide variety of sizes in squares and circles depending on what I know I want to wrap. Circular ones work great on bowls and jars while square ones can be folded up into pouches for snacks and such.
- To make the mixture, add equal parts beeswax to tree resin into the mason jar. The tree resin helps the wraps stick so adjust this ratio if you find the wraps not sticking enough or being too sticky.
- To melt the ingredients, fill the saucepan with water and place the filled mason jar into the pan. Make sure the water is high enough up the sides of the mason jar to melt the wax but not high enough that it will get into the cup.
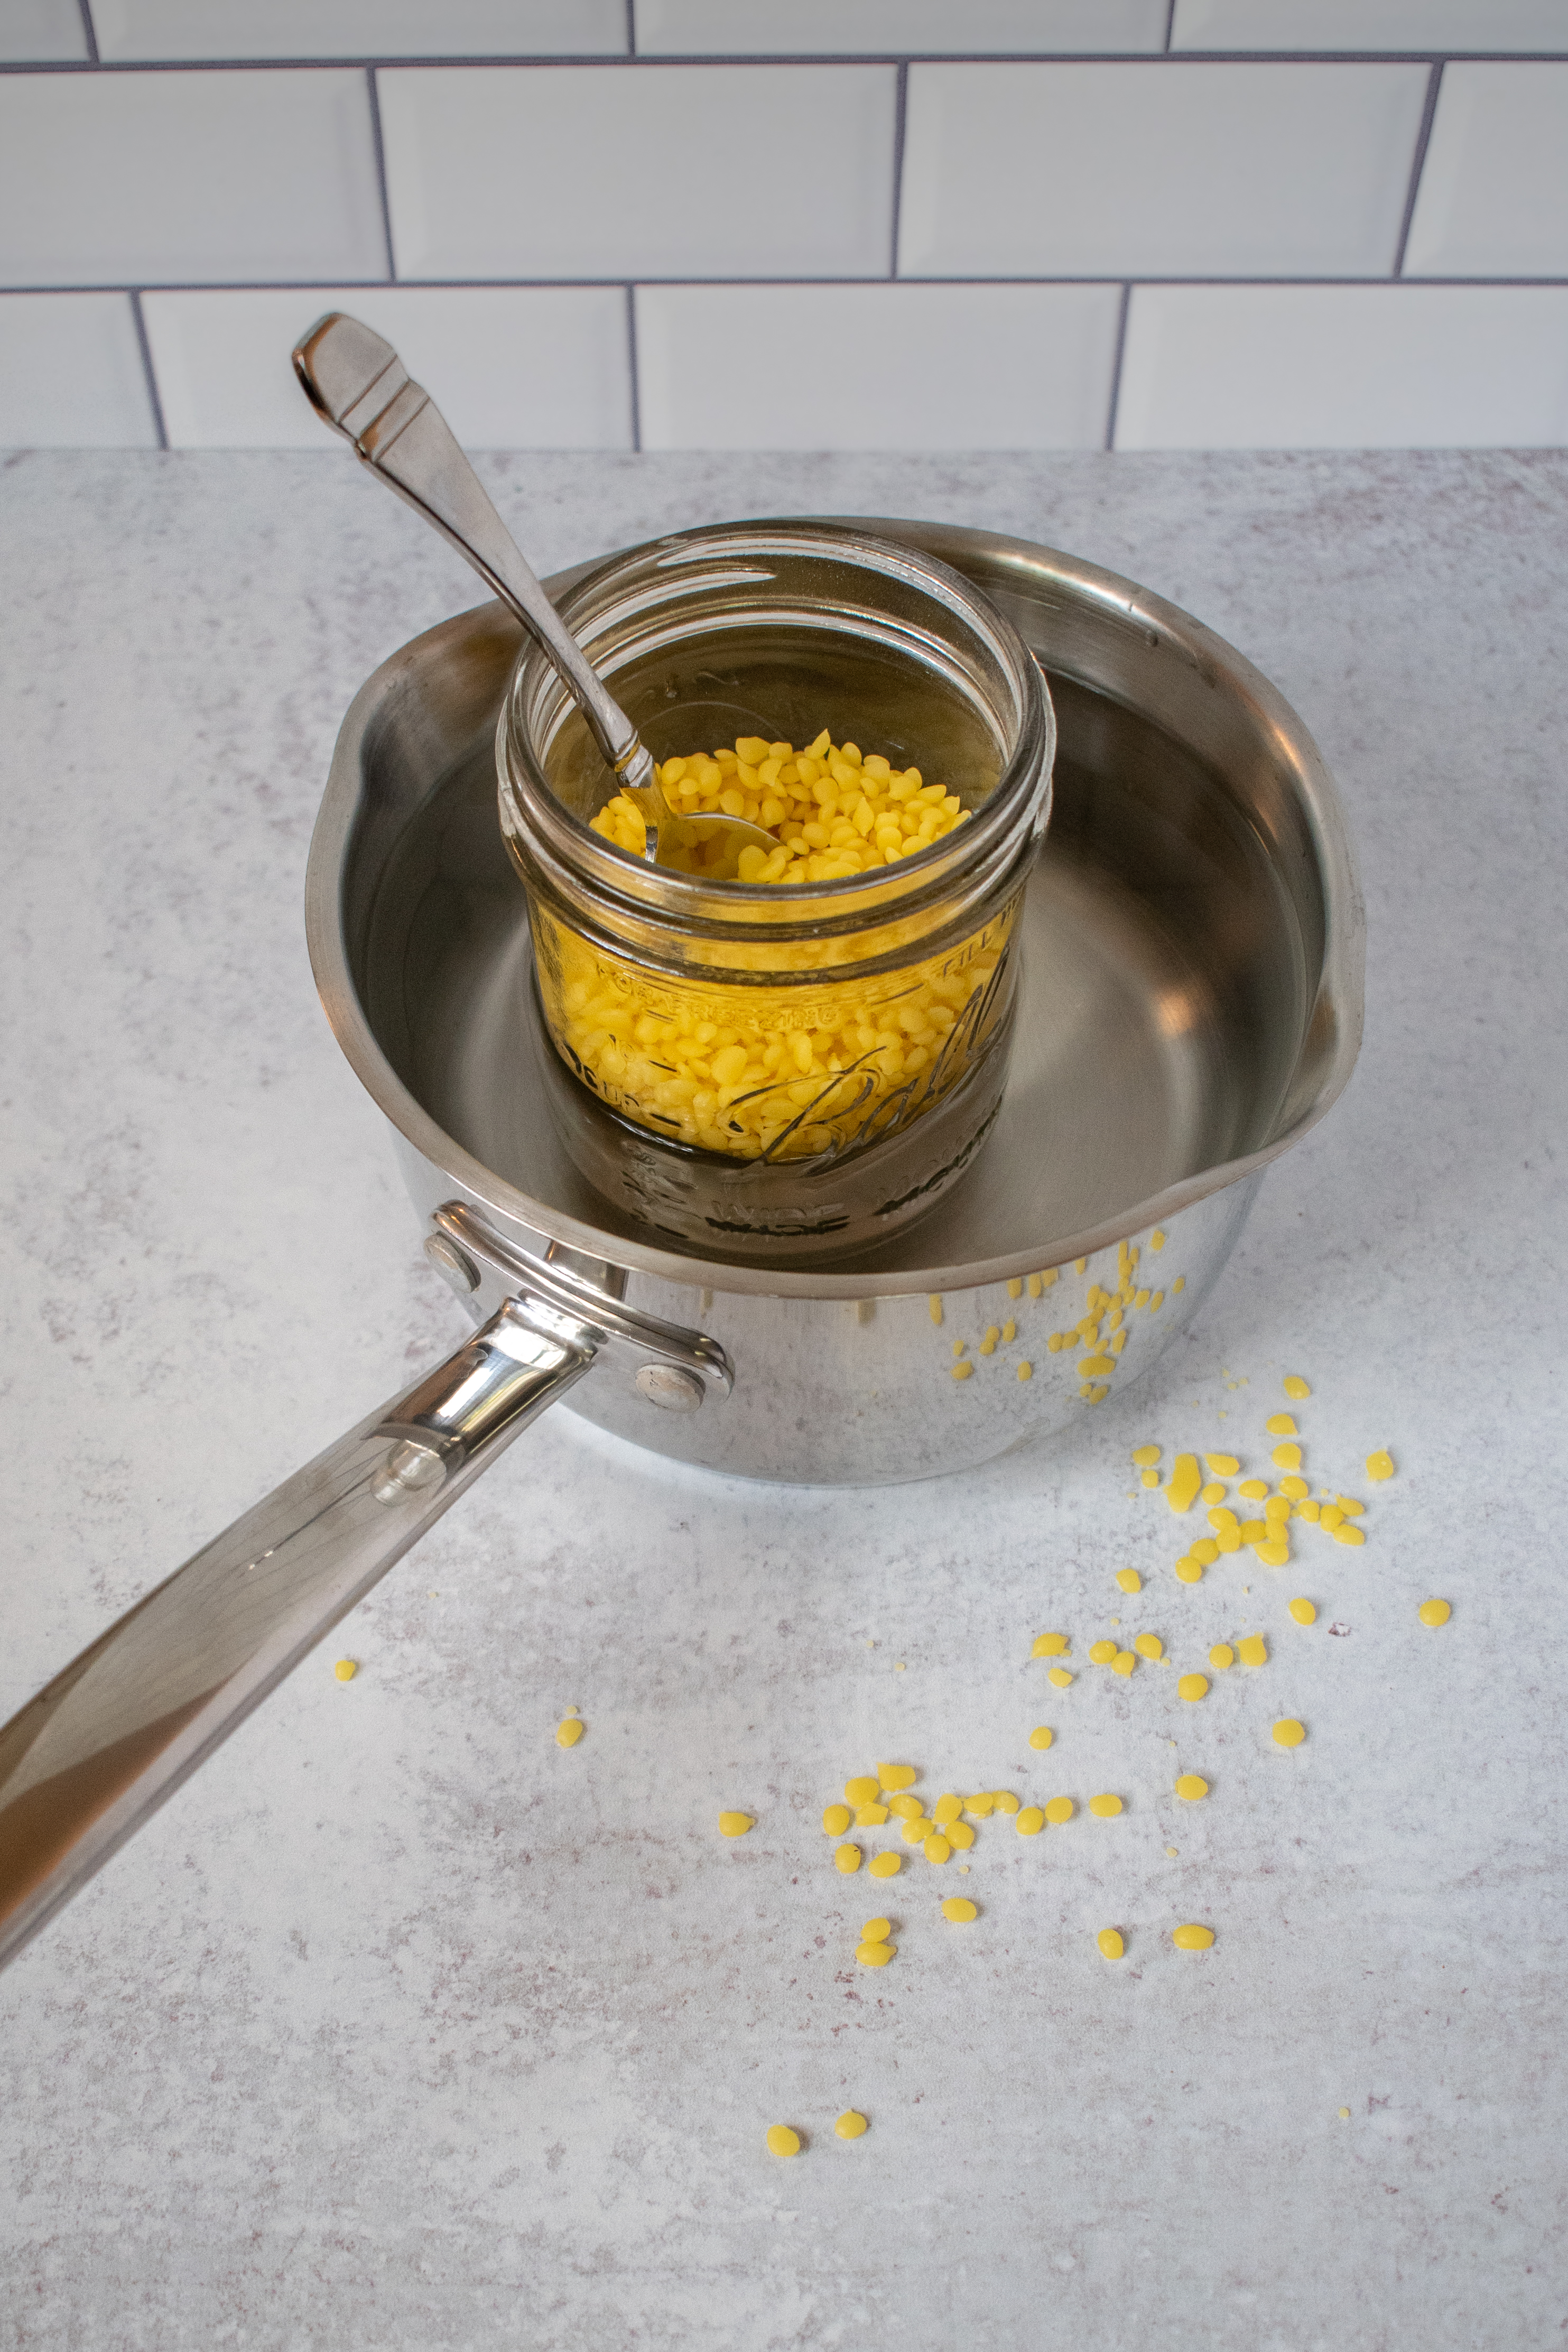
- Bring to a light boil over the heat stirring occasionally.*
- When your mix has melted completely stir in about a 2 teaspoons of jojoba oil for every cup of beeswax. The jojoba oil helps keep the wraps flexible adjust this amount if you find the wraps are not pliable enough.
- Turn off the heat and set the pan aside
- Lay down parchment paper onto your work surface and lay the cotton fabric on top.
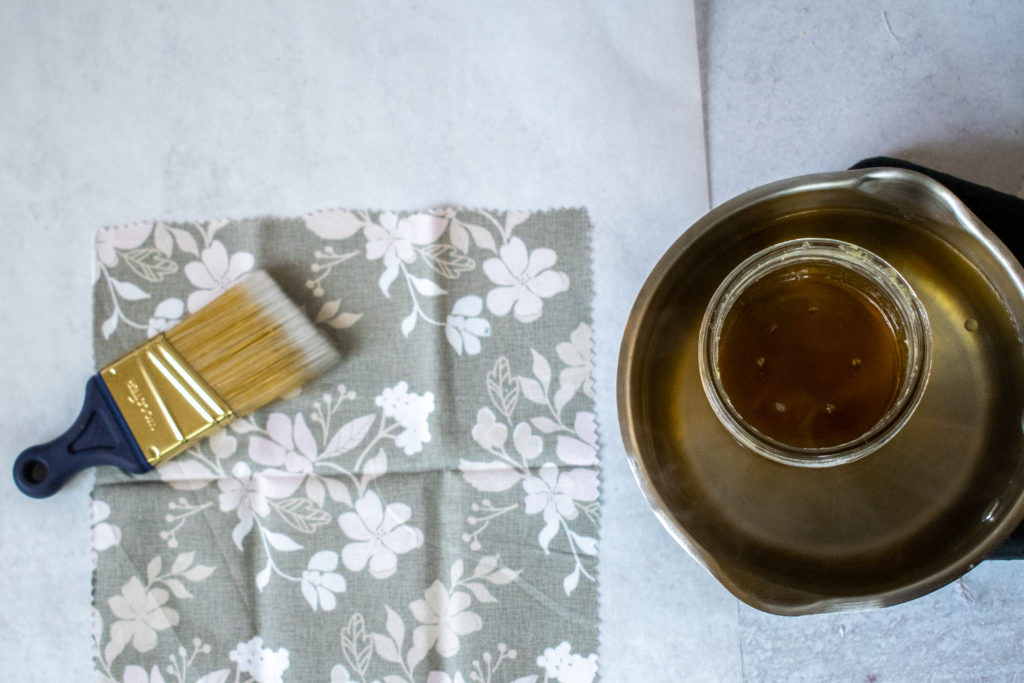
- Using the paintbrush paint the melted mixture onto the fabric.
- Place another piece of parchment over the top and use and iron to help move the mixture around evenly across the fabric.
- Carefully hang the wraps up to dry as the fabric will be hot from the wax. Wait until cooled and enjoy!
Notes
- The mixture is quite messy and very hard to get off of things. Use a stirrer and mason jar that you don’t mind getting messy.
- Wraps will last for about a year if taken care of properly. Wash off with water and mild soap if dirty.
